When using Quick Sign (QS), if you choose Sign it Myself in the Fill or Sign modal then the Self Sign modal displays with your document to sign. See ‘Sign it Myself’ in Quick Sign.
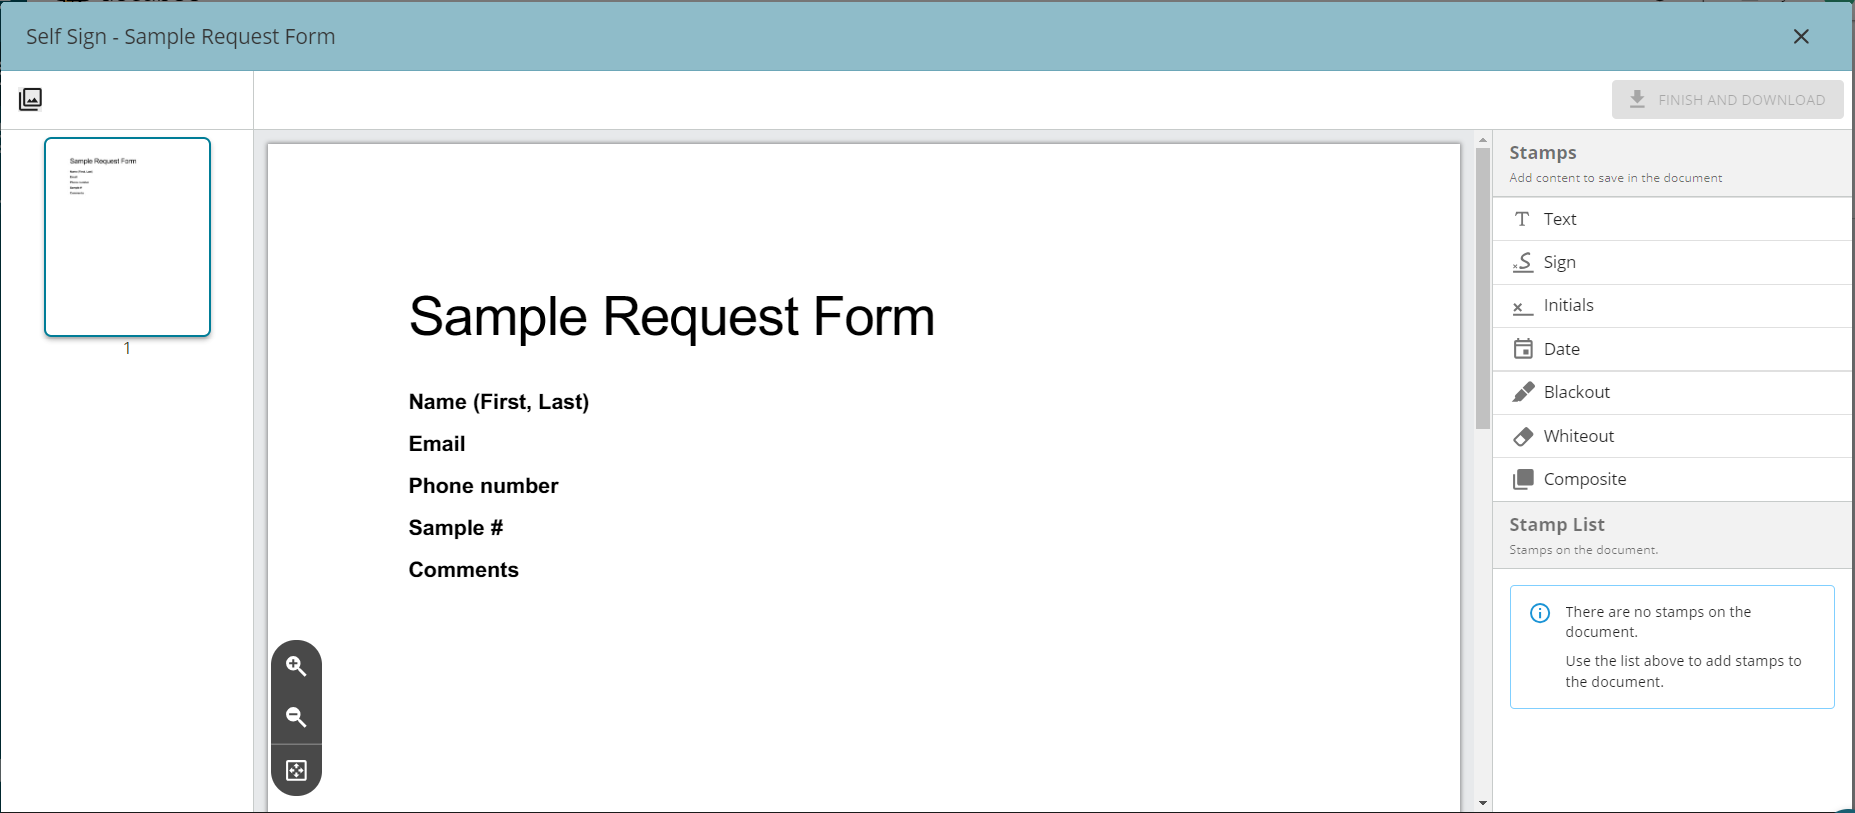 The right sidebar of the Self Sign modal displays Stamps and Stamp List.
Note:
If you are in the Documents | Library section, you can launch a QS by clicking the Quick Sign Document icon or selecting More Actions | Quick Sign Document. Choose Sign it Myself in the Fill or Sign modal. Docubee will provide you with the document for signing with a signing page including signature and date fields appended to the end.
This article includes the available stamps and how to modify them to suit your requirements.
Stamps Section
The right sidebar of the Self Sign modal displays Stamps and Stamp List.
- Stamps - The stamps available for adding contents/fields to the document include:
- Text - Add custom text and format it. When you select a text field, an edit button (pencil icon) appears below it. Click it to edit the contents of that text field.
- Sign - Add signature, set size and font.
- Initials - Add initials, set size and font.
- Date - Set a date using the date picker.
- Blackout - Redact/cover part of the document.
- Whiteout - Redact/cover part of the document.
- Composite - Create/apply a composite stamp.
- Stamp List - A dynamic list of the stamps you have used in the document. As you add fields to your document, the Stamp List will compile it in a list.
- To locate a stamp applied in your document, click a stamp in the Stamp List to see it selected in your document. Alternatively, you can click the stamp on the document directly.
- Each stamp has an edit and delete button. Use it to edit/delete the stamp contents.
Apply & Modify Stamps
Use the stamps to sign, date, add custom text, initial, etc., in the document.- Click on the stamp and then click in the document to place it.
- Adjust the position by clicking on it and dragging.
- Resize the stamp by clicking and dragging one of the available anchor points.
- When a stamp is selected, modify its characteristics using the available tools on the toolbar. Modify the stamp’s content using its properties.
The tools on the toolbar vary by stamp. This is the complete list of tools:
- Font - Click the down arrow to see the fonts selection and make your choice.
- Font size - Increase / decrease font size by clicking the +/- button or click the font size number to select it.
- Underline - Underlines the selected content.
- Strikethrough - Stickers though the selected content.
- Increase Rectangle Size / Decrease Rectangle Size - Click to increase/decrease the size of the selected stamp.
- Change Date - Displays a date picker where you can select a date and click Done.
- Use Different Initials - Draw/type another initial and click Save Initials. When you type an initial, you can see how it looks in different fonts. Choose the one that appeals to you.
- Use a Different Signature - Draw/type another initial and click Save Signature. When you type a signature, you can see how it looks in different fonts. Choose the one that appeals to you.
- Delete Field - Deletes the selected stamp content.
- Click Finish and Download.
Related Information
Quick Sign Additional Resources Need more help getting set up? Contact us for assistance from our customer support team.Was this article helpful?
That’s Great!
Thank you for your feedback
Sorry! We couldn't be helpful
Thank you for your feedback
Feedback sent
We appreciate your effort and will try to fix the article