View our Pricing & Plans for a detailed list and comparison of features available in each plan.
Seamlessly export your Docubee workflow documents directly to Dropbox!
Dropbox is a cloud-based file management platform that allows users to store, access, and share files. Our Dropbox integration offers the ability to export your files directly to Dropbox as part of your workflow. Once your files are in Dropbox, they can be easily accessed from any device using your Dropbox account.
This article will walk you through the integration.
Although this walkthrough uses an Upload Field property in a Web Form task to provide a document, you can send documents to Dropbox from other Docubee actions as well, including:
- A signed document from a fill & sign task
- A templated document from a generate document from form data task
- A combined document from a combine documents task
Before You Begin
Before setting up your new integration, you’ll need the following:- A Docubee account (either paid or trial)
- A Dropbox account
- You will log in to your Dropbox account through Docubee, so make sure to have your credentials ready. Note: See How to log into or out of your Dropbox account for more information.
Create a New Workflow in Docubee
You need to create a workflow in Docubee with the essential tasks mentioned in the steps below.- In Workflows, at the upper-right corner click Create Workflow … Note: See Create a Workflow for more information.
- In the workflow builder:
- Name your workflow.
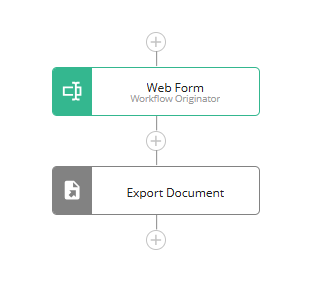
- Add a Web Form task - The first task should be a Web Form task to collect data.
Note: Besides the Web Form task, you can also use a Fill and Sign task or a Generate Document from Form Data task to obtain a document for use in the Export Document task.
- Click the task.
- Add the following fields to the task from the Add Fields tab:
- File Upload
- Select File Upload from the Add your first field dropdown to create a file upload field.
- Enter a Property Name of “Waiver_Upload”.
- You can leave the rest of the options as their default setting.
- Click Close Field Settings.
- Text Input
- Select Text Input from the Add another field dropdown to create a single-line text field.
- Enter a Property Name of “Waiver_File_Name”. When the workflow is run, this is where the participant will enter the file’s name that will be displayed in your Dropbox account.
- Click Close Field Settings.
- File Upload
- Add an Export Document task - This task can be set to export the document to Dropbox and specify the Dropbox folder to use.
- Click the task.
- In the Document Settings tab, click the Select a Workflow Document dropdown and select the document, “Waiver_Upload”, of the preceding Web Form task.
- In the Destination tab, set the destination and its other settings. See Connect to Dropbox for more information.
Connect Docubee to Dropbox
You have to connect Docubee to Dropbox and set the Dropbox folder to receive the files from Docubee.- In the workflow builder, click the Export Document task.
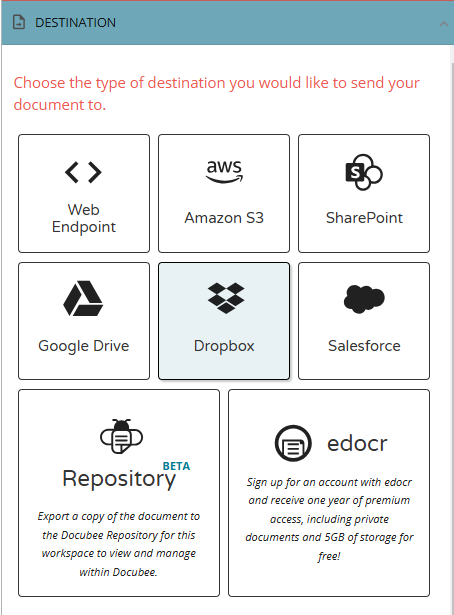
- Inside the Destination tab, select Dropbox.
- Click the Connect to Dropbox button. The API Request Authorization modal opens and prompts you for your Dropbox account credentials to link it with Docubee.
- Enter your Dropbox username and password.
- You will be prompted to accept the permissions that Docubee is requesting. If you agree and wish to continue, click Accept. Your Dropbox account is then connected.
- The Destination tab will now display the Dropbox Path URL and File Name fields.
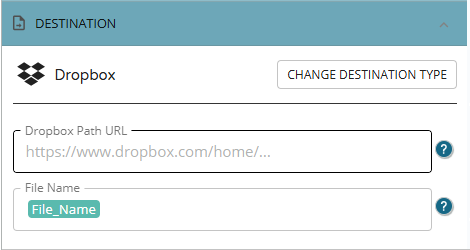
- Choose where to send your document using the Dropbox Path URL field. Files in Dropbox are stored in a folder that are defined by a URL.
- To upload your file to a specific folder in Dropbox, navigate to that Dropbox folder, copy the URL and paste the entire url into Docubee’s Dropbox Path URL field.
- To upload your file to the root folder of your Dropbox, leave it blank.
- Choose a name for the file when uploaded in Dropbox. This is the file name you will see in Dropbox. Click on the File Name field dropdown and select the file name. (You added a field for Waiver_File_Name when creating the Text Input field above.)
Note: You can also type in a file name.
- Each file in Dropbox will have a name. You can name the file using any previously defined text or date properties within your workflow. Files uploaded with the same name will have a number appended to the file name (ie "myfilename (1).pdf") unless the document is a duplicate of the existing file with that name, in which case Dropbox will ignore the upload.
- If you do not provide a file name, your document will be uploaded using the name available in the workflow, which will be the original uploaded file name (if available), otherwise it will be the property name of the document.
Publish & Run
The workflow is ready to publish and execute.- Click the green Publish button in the upper-right corner of the workflow builder.
- Run the workflow.
- The workflow will prompt for the file to upload and the file name.
Note: The file uploaded to the workflow is then uploaded to the specified Dropbox destination folder, and the file name identifies this uploaded file in the workflow.
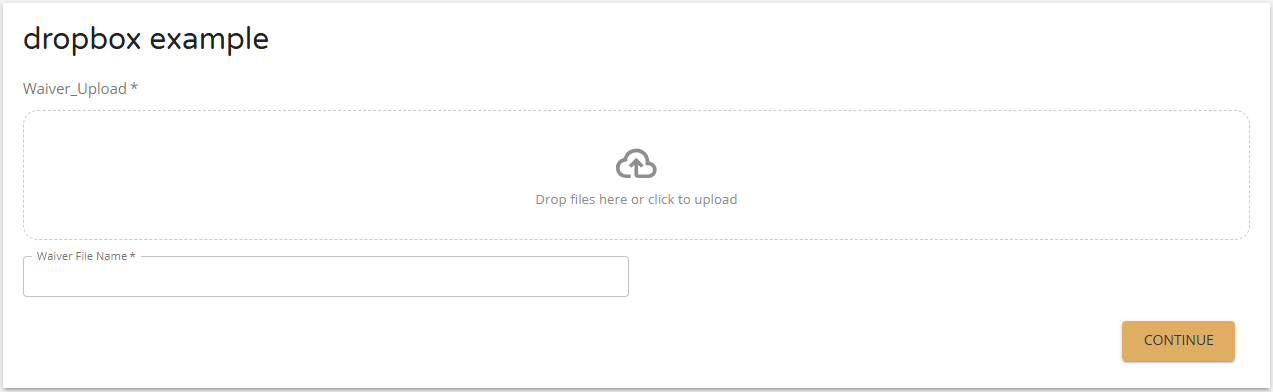
- Upload the file and enter a name.
- Click Continue.
- After your workflow completes successfully, the uploaded file is available in the configured location in your Dropbox.
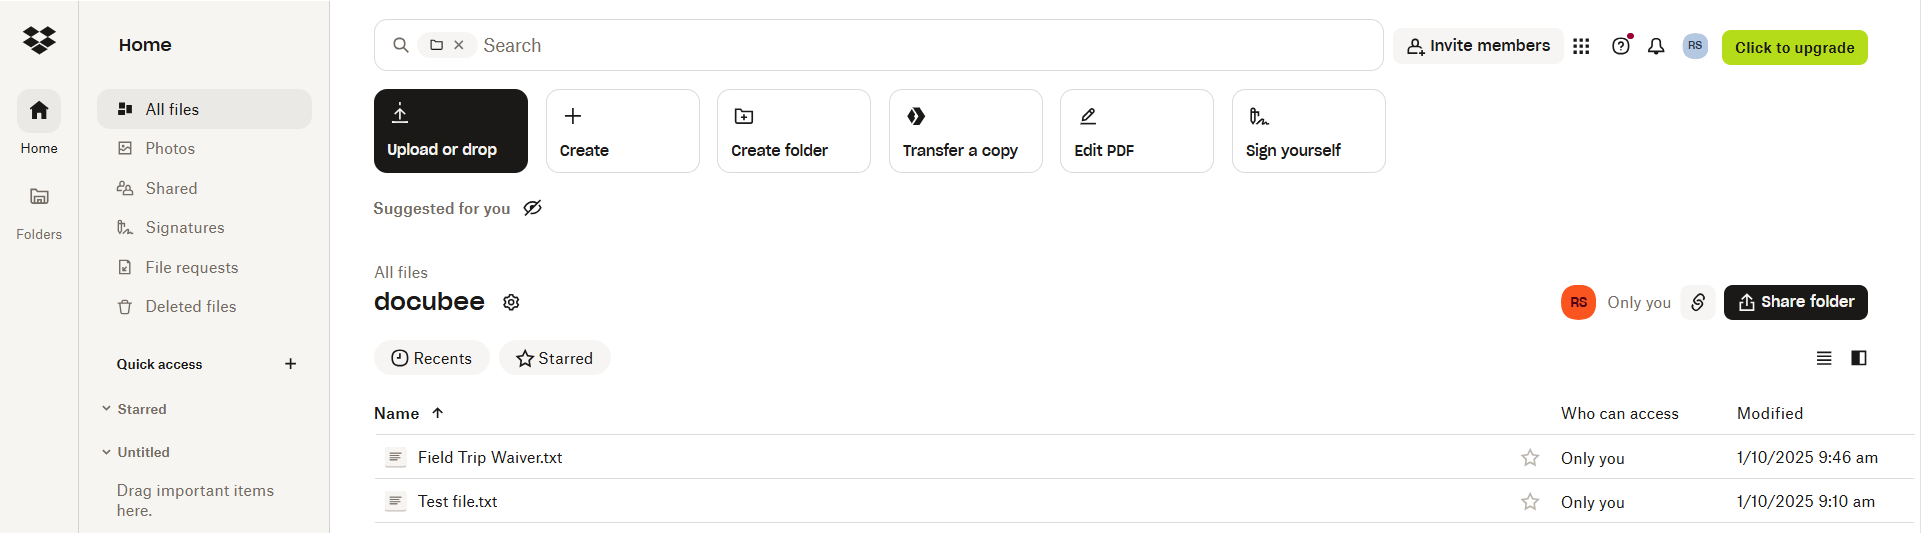 These files can be accessed online or through the Dropbox mobile app.
Related Information
Web Form (Workflow Task) Export Document (Workflow Task) Types of Tasks (Workflows) Additional Resources Need more help getting set up? Contact us for assistance from our customer support team or register for Office Hours.Was this article helpful?
That’s Great!
Thank you for your feedback
Sorry! We couldn't be helpful
Thank you for your feedback
Feedback sent
We appreciate your effort and will try to fix the article