Docubee’s envelope feature allows users to combine document templates and send them together as a single envelope. This new capability is particularly useful when you need to send onboarding, leasing, or sales agreement packets.
Check out our quick video below to follow along with this article.
Documents being sent as a single envelope can combine fields into a single role if they are named similarly. For example, if you’re sending new hire documents like an Offer Letter, I-9, and Direct Deposit Authorization form, they’ll likely have similar fields assigned to the same role like an HR representative, a candidate, and the hiring manager. Fields can represent spots to collect info, sign, or date.
Instead of sending multiple individual requests to fill and sign, sending them as a combined document in an envelope would be ideal.
Let’s dive into how you can create and send envelopes with Docubee.
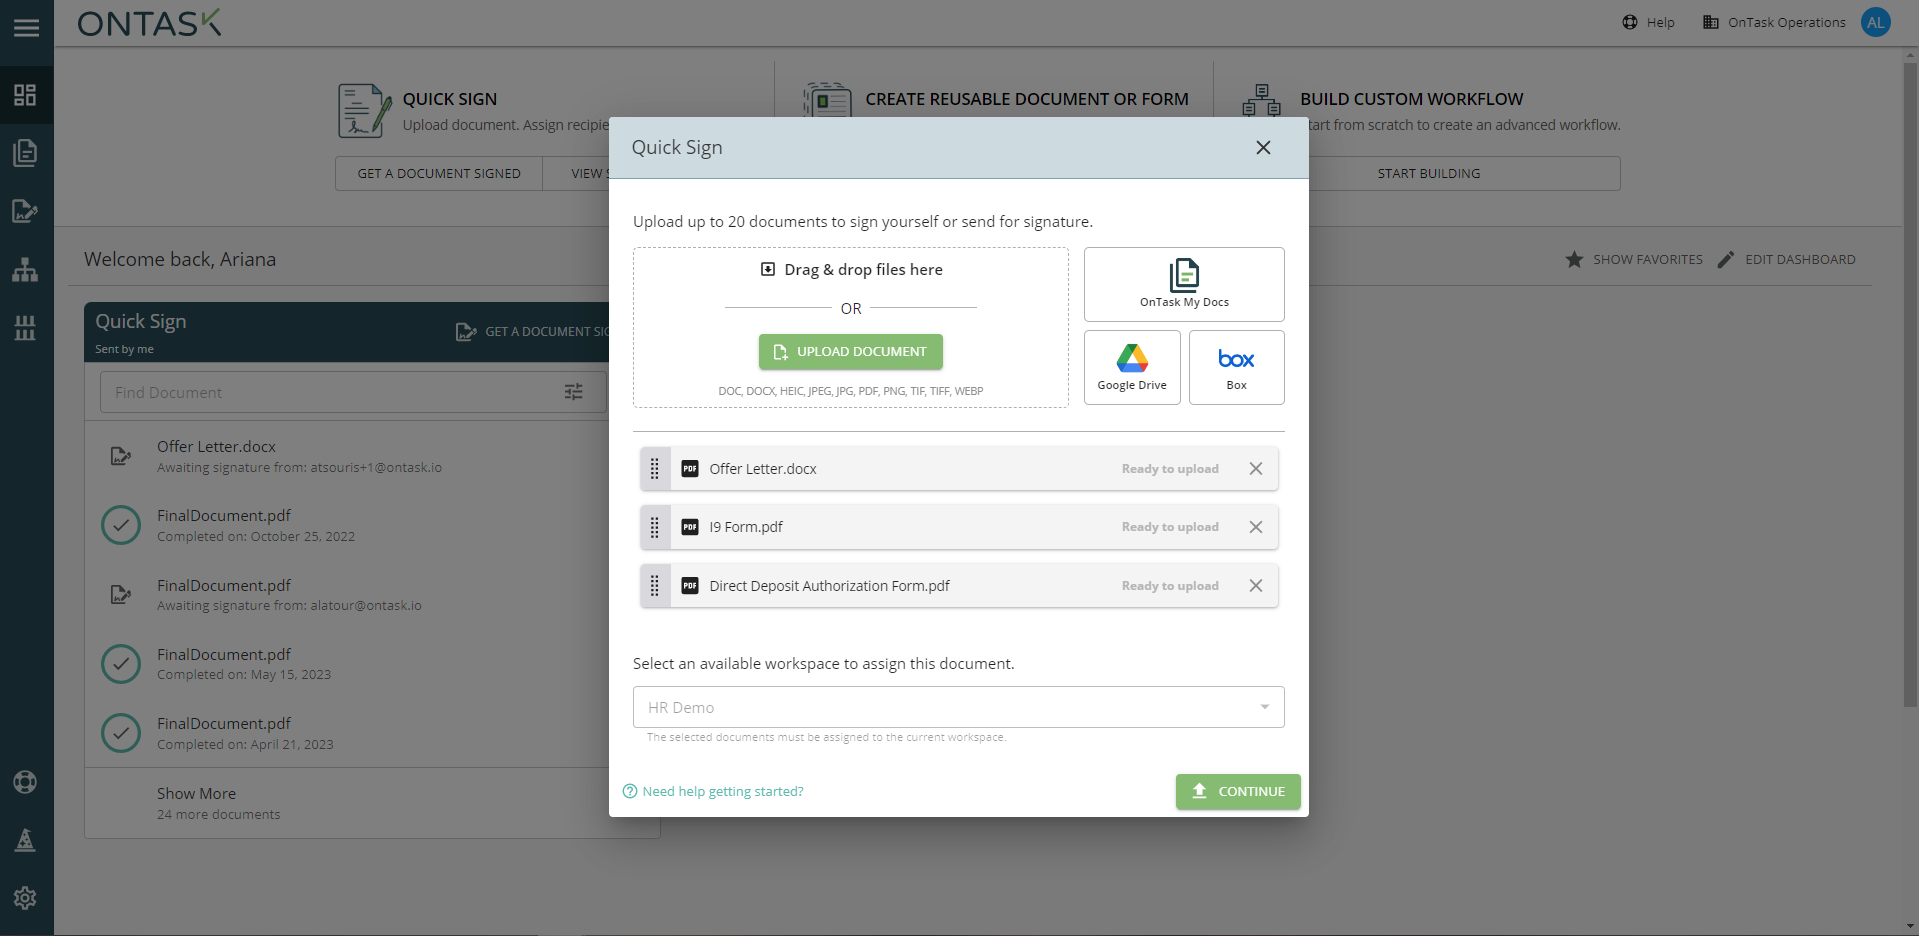
 4. Select “Docubee My Docs” from the file picker.
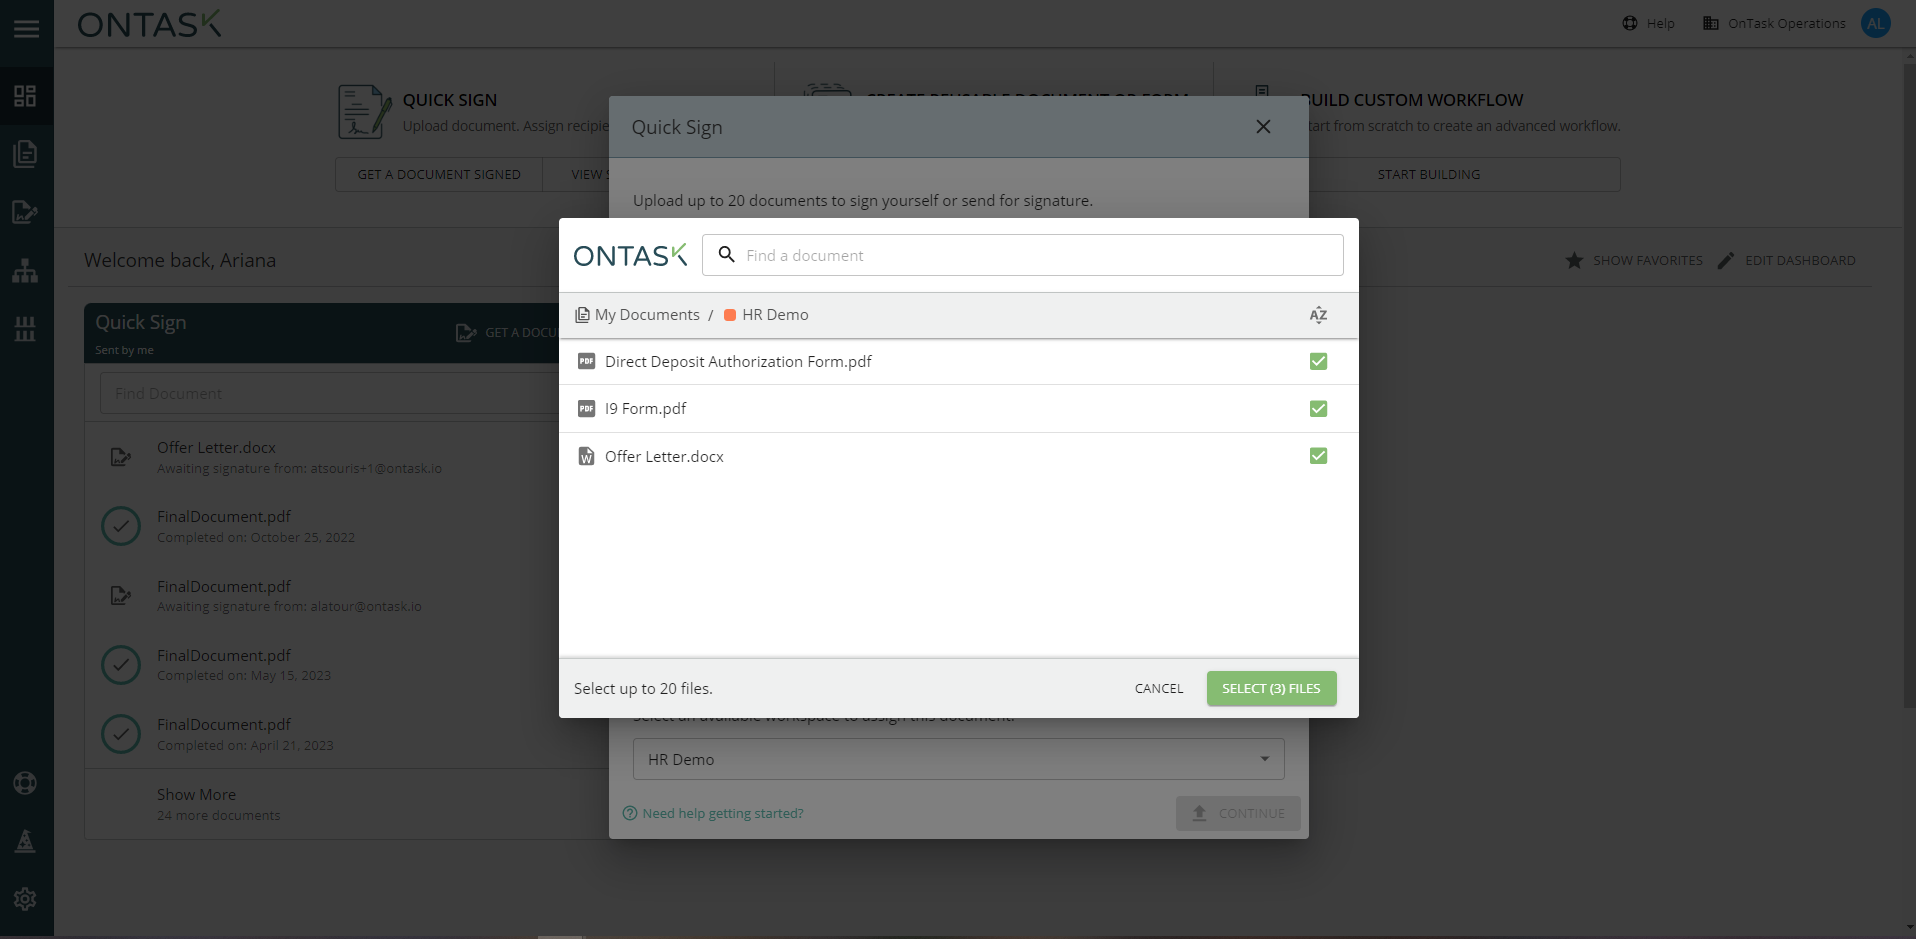
 5. Next, select the documents from your workspace you’d like to use. For this example, we’ll use an HR demo packet to send as part of a new hire workflow.
 6. Your documents will be uploaded in the order you select them which is the order they will appear to users signing. You can rearrange their order before continuing by dragging and dropping.
 7. Upon uploading, the roles for your documents will be combined automatically based on their name.
8. Next, enter the email address and name of each role’s recipient.
9. Add any additional Quick Sign features that you need to your envelope like a set signing order, which recipients will receive final copies, and password protection.
10. Once you hit “Continue”, all of your document templates will be combined into a single document packet. All assigned fields are carried over into this new document.
11. Now you’re ready to send.
Need more help to get started? Contact us for more help.
7. Upon uploading, the roles for your documents will be combined automatically based on their name.
8. Next, enter the email address and name of each role’s recipient.
9. Add any additional Quick Sign features that you need to your envelope like a set signing order, which recipients will receive final copies, and password protection.
10. Once you hit “Continue”, all of your document templates will be combined into a single document packet. All assigned fields are carried over into this new document.
11. Now you’re ready to send.
Need more help to get started? Contact us for more help.
Before You Begin
Before you get started with your envelopes, you’ll need to have the My Document templates you’d like to use ready to go with roles and fields already applied. Once you have your document templates ready, we can go ahead and dive into setting up your envelopes.Steps to Send an Envelope
- Go to “My Documents” to access your document templates and ensure they are fully set up.
- Once you’ve verified your document templates are correct, navigate back to your dashboard.
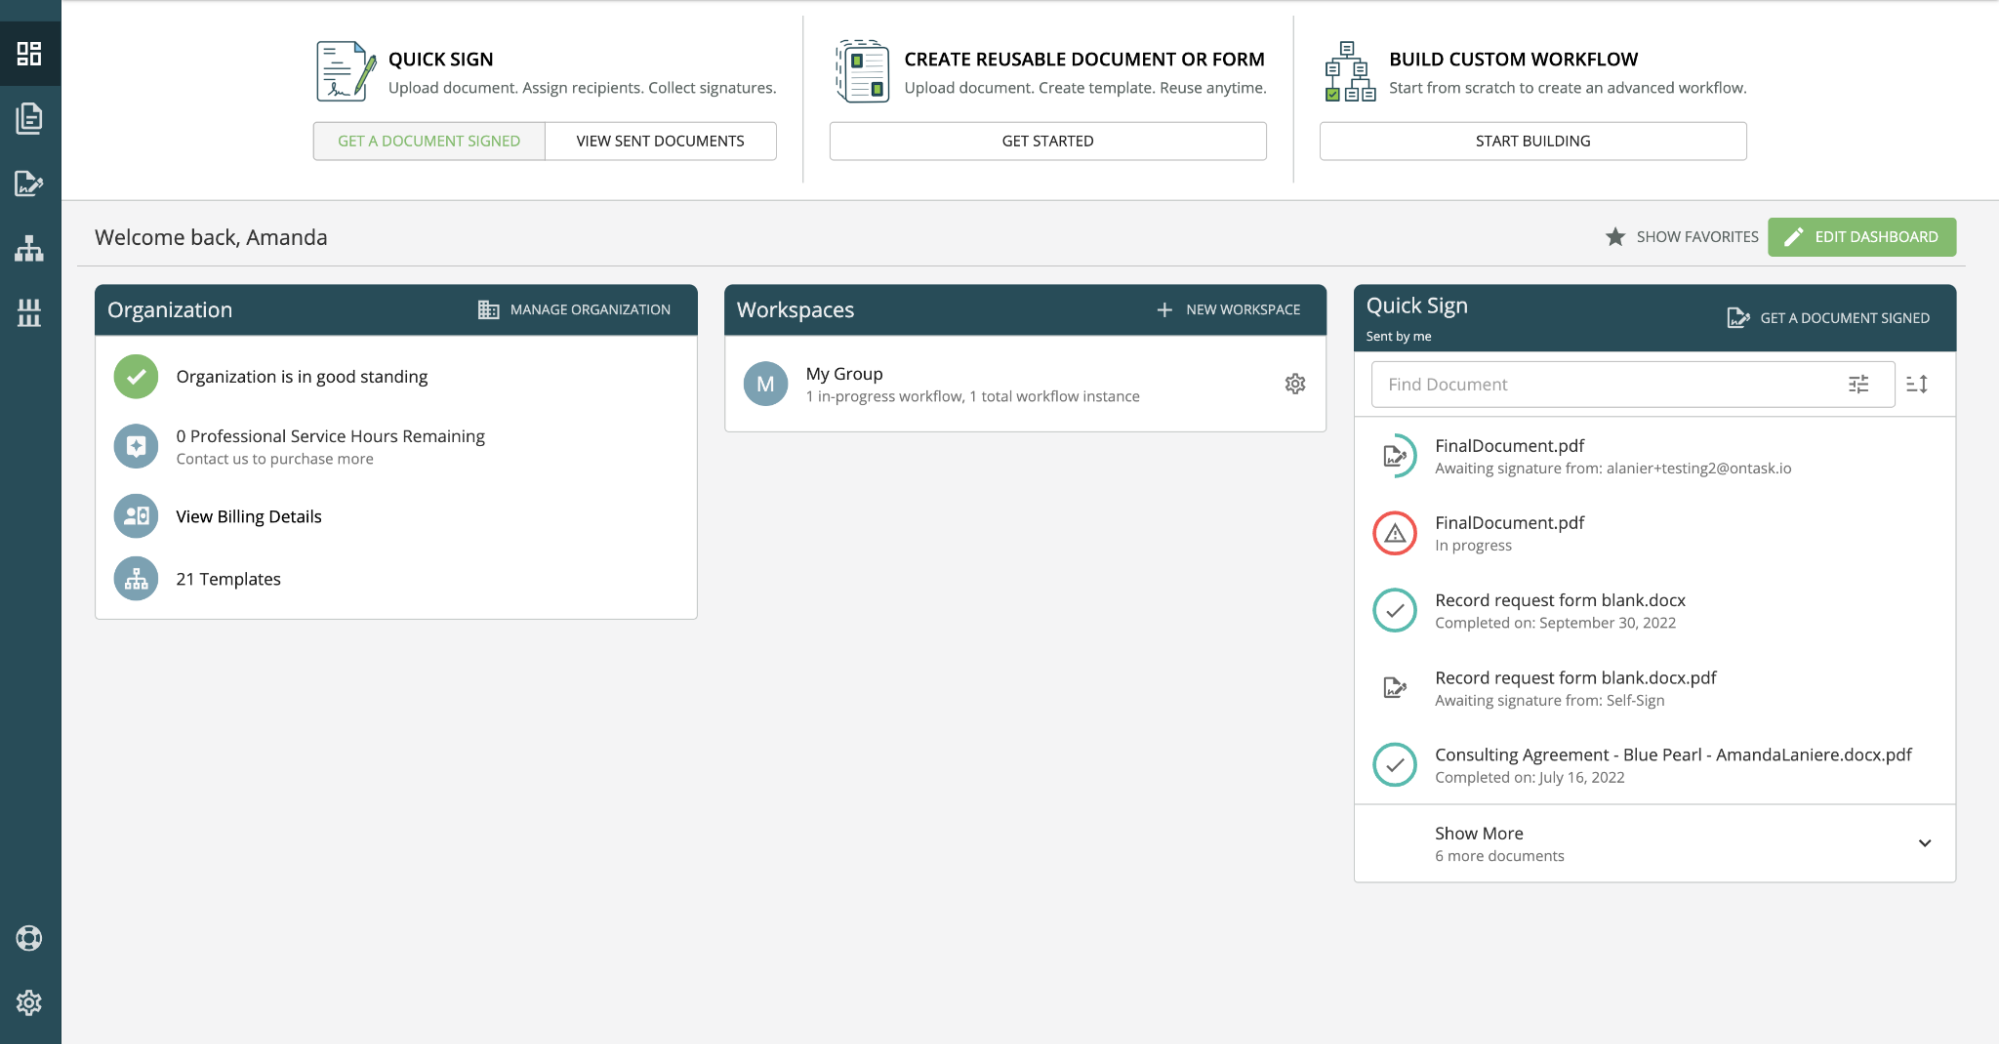
- Next, click the “Quick Sign” button.
4. Select “Docubee My Docs” from the file picker.
5. Next, select the documents from your workspace you’d like to use. For this example, we’ll use an HR demo packet to send as part of a new hire workflow.
6. Your documents will be uploaded in the order you select them which is the order they will appear to users signing. You can rearrange their order before continuing by dragging and dropping.
7. Upon uploading, the roles for your documents will be combined automatically based on their name.
8. Next, enter the email address and name of each role’s recipient.
9. Add any additional Quick Sign features that you need to your envelope like a set signing order, which recipients will receive final copies, and password protection.
10. Once you hit “Continue”, all of your document templates will be combined into a single document packet. All assigned fields are carried over into this new document.
11. Now you’re ready to send.
Need more help to get started? Contact us for more help.
Was this article helpful?
That’s Great!
Thank you for your feedback
Sorry! We couldn't be helpful
Thank you for your feedback
Feedback sent
We appreciate your effort and will try to fix the article